

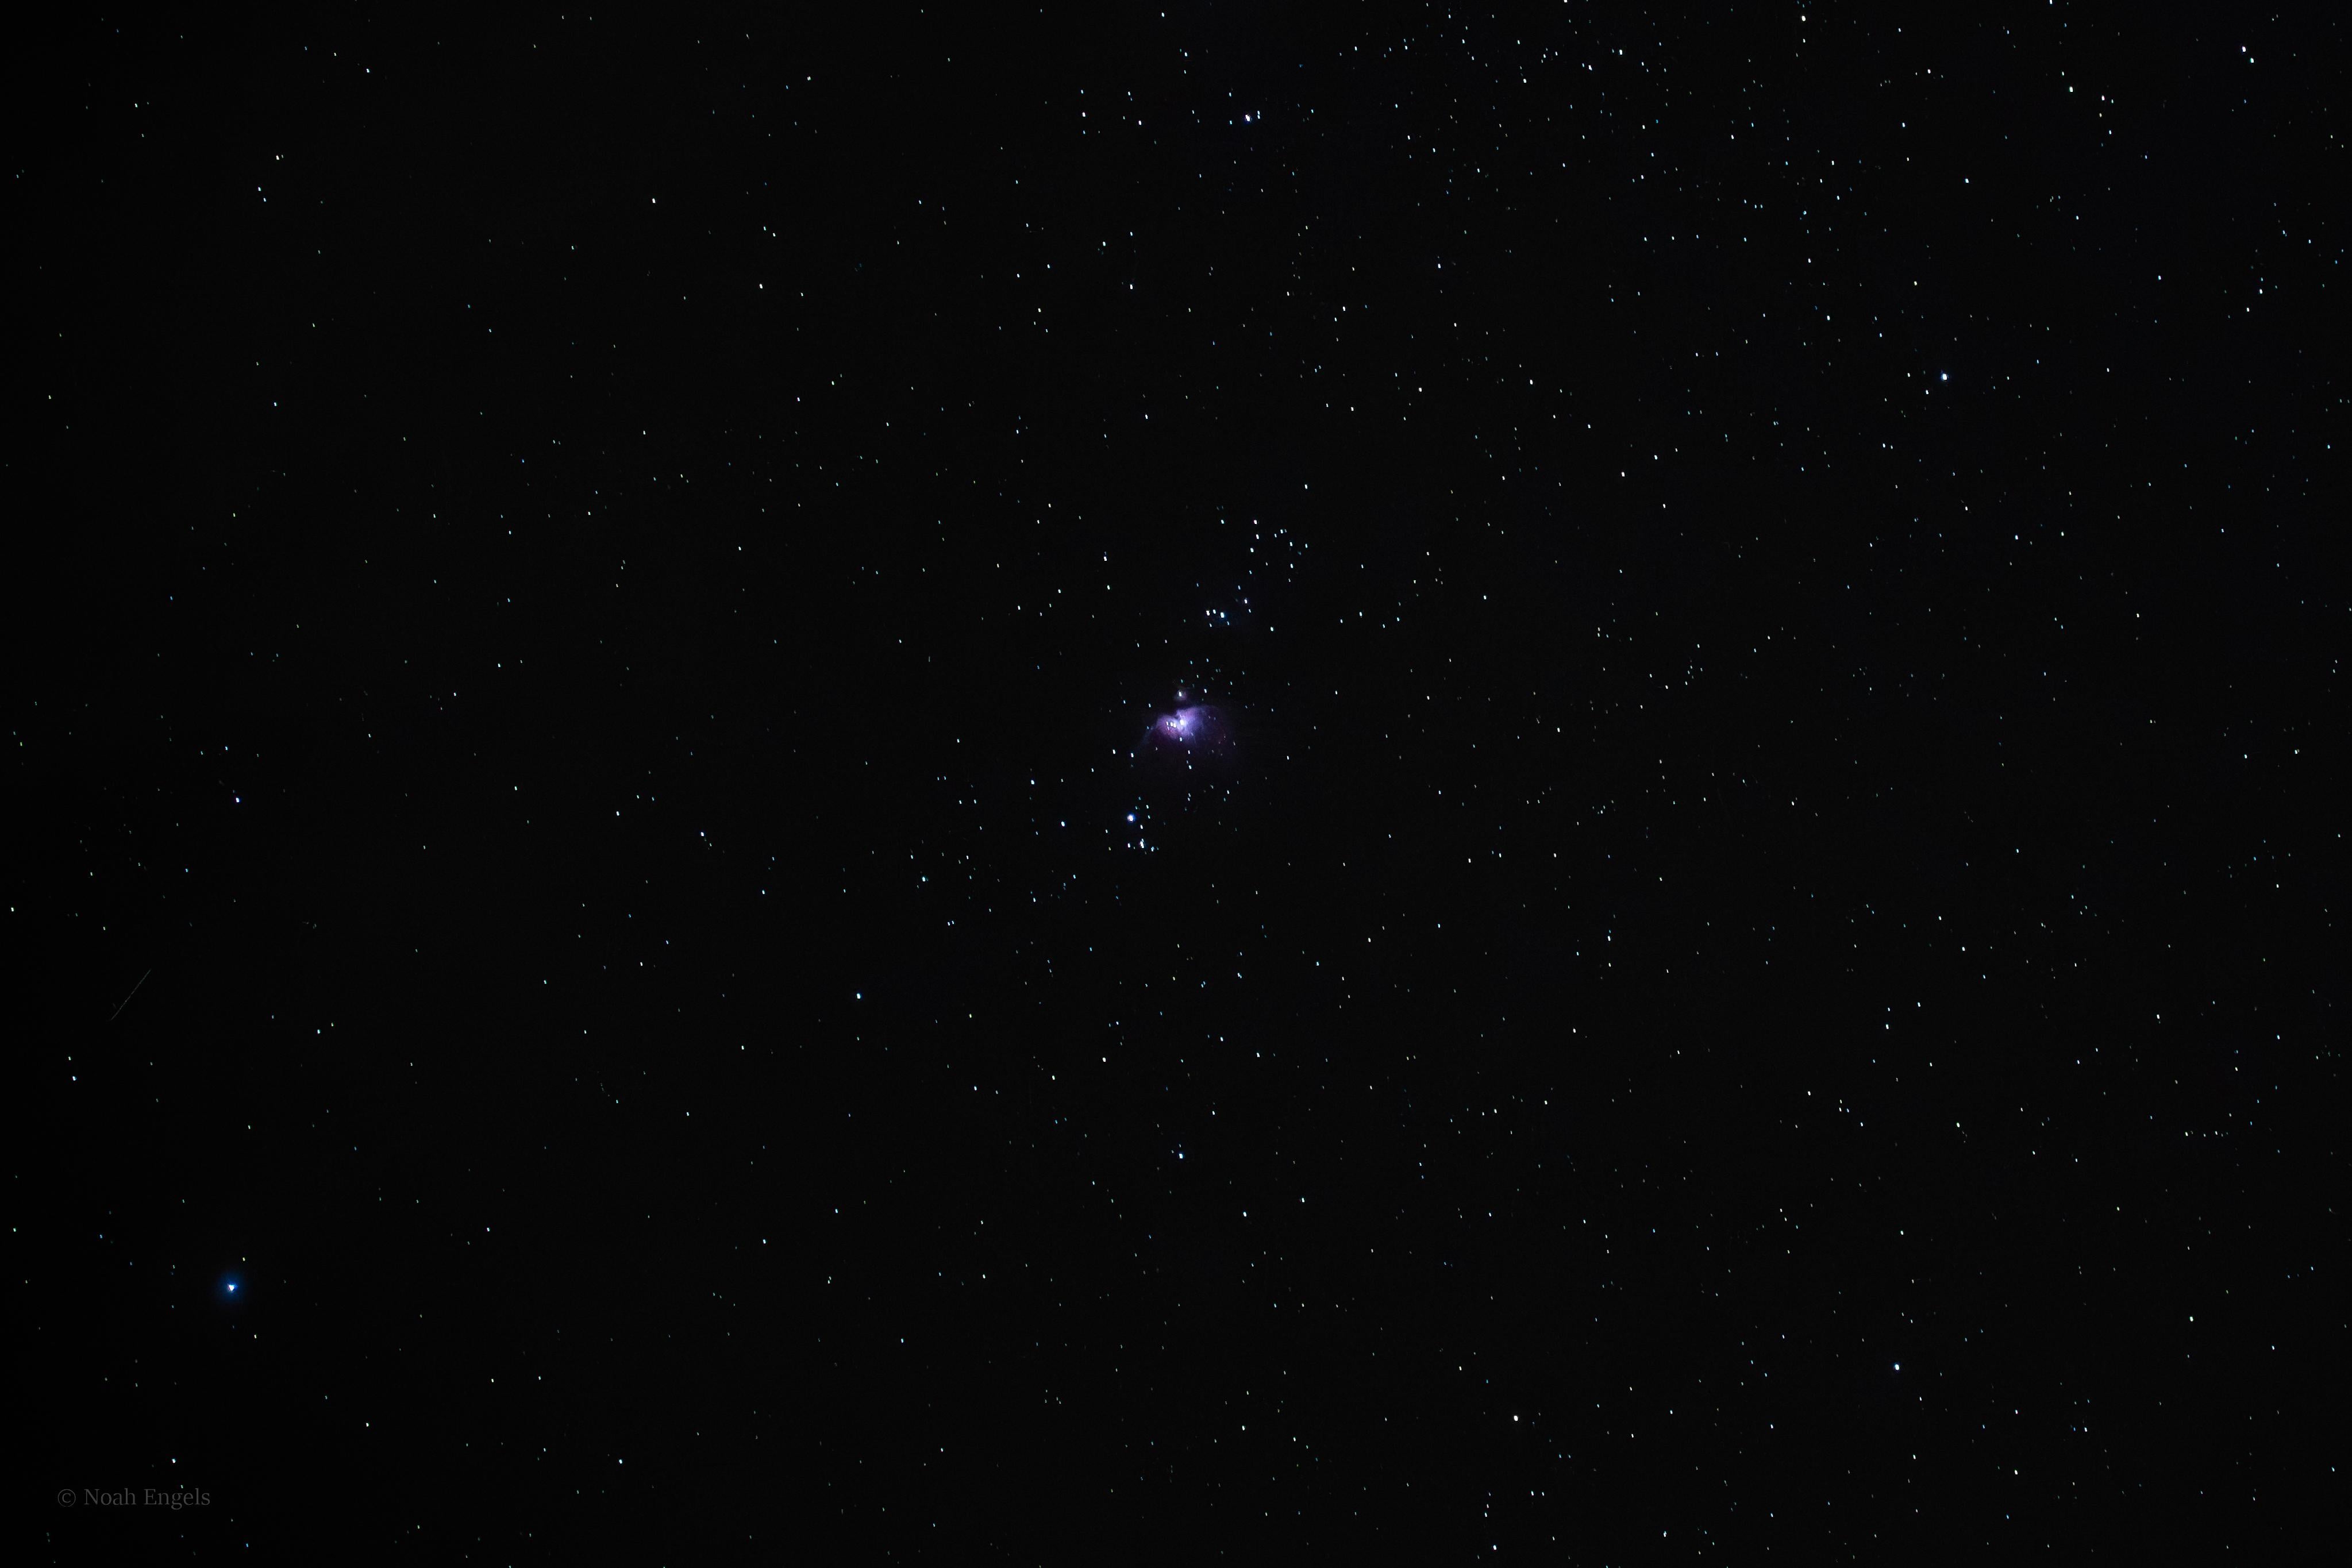
Hello, I am new to deep sky astrophotgraphy. This was my first try to take any picture of something in the nightsky at more than 50mm. This is a single exposure of the orion nebula taken on my unmodified Nikon Z5II + Nikkor Z 24-120 f4S. I made around 100 exposures plus 20 Dark frames, so i will try to stack them in the next days and hope for the best. I have no experience with stacking so I am open for any tips and tutorials (I want to use DSS)
Details:
Camera: Nikon Z5II
Lens: Nikkor Z 24-120mm f4.0S
Tripod: K&F Concept K234A7(S210)
Light pollution: Bortle 4 (Northern Eifel, Germany)
Focal length: 120mm
Apperture: f/4
Exposure Time: 2"
ISO: 6400
Crop: ~1,5 (Picture taken in full frame mode and cropped in Lightroom)
Edited with Lightroom (Only Brightness, Contrast, White Balance and Denoise)
Please leave any tips and opinions in the comments, I want to learn😊
by _noah_0708
1 Comment
Apologies for the large amount of text that follows, but I hope it’s all helpful as you get started with astrophotography…
First, if you haven’t already seen these videos from Nebula Photos on untracked deep sky astrophotography, I highly recommend watching them:
– https://youtu.be/pXcRKoxTPVg
– https://youtu.be/iuMZG-SyDCU
For image acquisition, based on [this chart](https://www.photonstophotos.net/Charts/RN_e.htm#Nikon%20Z%205II_14) for your camera it looks like you could use ISO 800. That won’t increase the read noise significantly and will help keep more dynamic range.
It also looks like you may have some slight star trailing, so you may want to lower your exposure time a little. I know that at least in that first video linked above, Nico talks about (and shows) a website that will help show the best exposure times for the object you’re imaging. I’m guessing it will be closer to 1-1.5 seconds for you rather than 2 seconds.
You’ll also want to take bias and flats frames for best results. Here are some instructions I put together on taking calibration frames which may be helpful:
1) Darks: put on a lens cap and take 30+ of these images with all settings the same as your lights (including the temperature, so you’ll want to do this the same night you’re taking the lights).
2) Flats: take a white T-shirt and put it tightly over the end of your lens/telescope. I use a rubber band to keep it in place and keep it tight so there aren’t any wrinkles. Keep all settings and focus the same as your lights, except reduce the exposure time so that the histogram is about 1/3 from the left. Take 30+ of these too. This corrects for dust spots and vignetting. You can either take these in the morning pointing up at the bright morning sky – but not right at the sun, as that will mess up the image you want – or you can use a white light source like a laptop or tablet screen to illuminate the entire camera sensor and get the right exposure on the histogram.
3) Bias: use the same ISO as your lights and put the lens cap on just like you did for your darks. However, set the exposure time to as short as possible. Take 30+ of these also.
Additionally, for a somewhat more technical discussion/example on *how* calibration frames work with the stacking program, check out this video by Adam Block. Ignore that it is for PixInsight’s WBPP, that isn’t relevant to the information he presents in the video. https://youtu.be/sZmHbxIxZeM
Using deep sky stacker is actually quite intuitive. You’ll click the button on the left corresponding to the types of frames you’re adding into the process (e.g., lights) and then you can register and stack all the images together as it does most of the work for you. Then you’ll want to take the resulting stacked image into Siril (note: Siril can also do the stacking, but deep sky stacker may be easier and more intuitive at first). Here’s my general workflow with PixInsight, though the exact tools in Siril are different you can still do them in this order:
– Background Extraction
– Color Calibration
– Deconvolution
– Star Removal (look into getting StarNet++)
– Noise Reduction
– Stretching (Star and Starless Images separately)
– Recombine Star and Starless Images
Finally, just a note that the more (light frame) images you have, the better result you’ll end up with. You’ll often see people do hours worth of exposures on a target, though I know that’s tough to do with untracked astrophotography. Even just an hour total will make a huge difference over the 3+ minutes you currently have.