

 GL.iNet GL RM10 Comet Pro Remote KVM Front
The GL.iNet GL-RM10 Comet Pro Remote KVM at first seemed expensive in the world of remote KVM solutions. While it may not be the cheapest option, it has worked very well and offers some super features, which have led us to buy a few of them so far. Sometimes having more features is nice, and this is both one of the pricier and the best KVM units we have used thus far, and we use a ton of these attached to test systems.
Previously, we reviewed the GL.iNet Comet PoE and the GL.iNet Comet GL-RM1. In most ways, this is an upgrade over the PoE version and a fairly large step up from the original GL-RM1. On the other hand, if you use this type of device occasionally or deploy many of them, I think both of the previous versions we reviewed have significant merit. This is an ultra feature-rich version.
Here is an Amazon affiliate link where we purchased ours. Here is an Amazon affiliate link to the base GL-RM1 model, and one to the PoE model.
GL.iNet GL-RM10 Comet Pro Hardware Overview
Perhaps the biggest difference between this and the lower-cost options we have reviewed is that this version has a big touchscreen on the front. It is notably larger both in screen size and system size versus a JetKVM. As a quick note, we have a few JetKVMs and other models as well, but the GL.iNet video quality is the reason we usually pick the Comet series off the shelf.
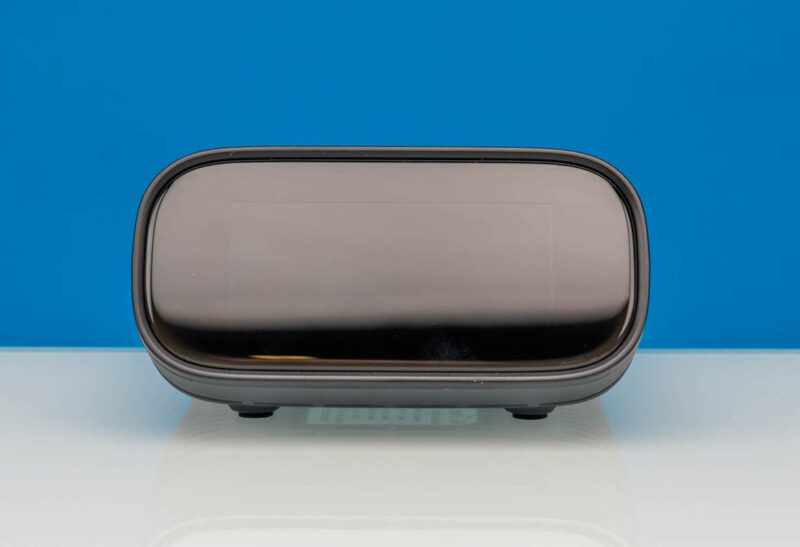 GL.iNet GL RM10 Comet Pro Remote KVM Front
That screen shows data like the IP address of the unit. It also prompts for a password upon first booting, so you can lock out physical access.
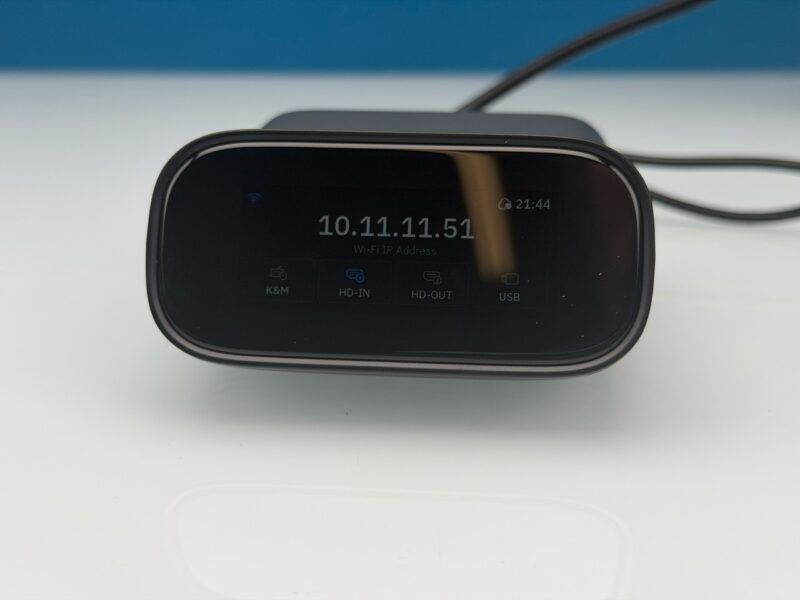 GL.iNet Comet Pro RM 10 Touchscreen Large
On the side, there is a vent on the bottom.
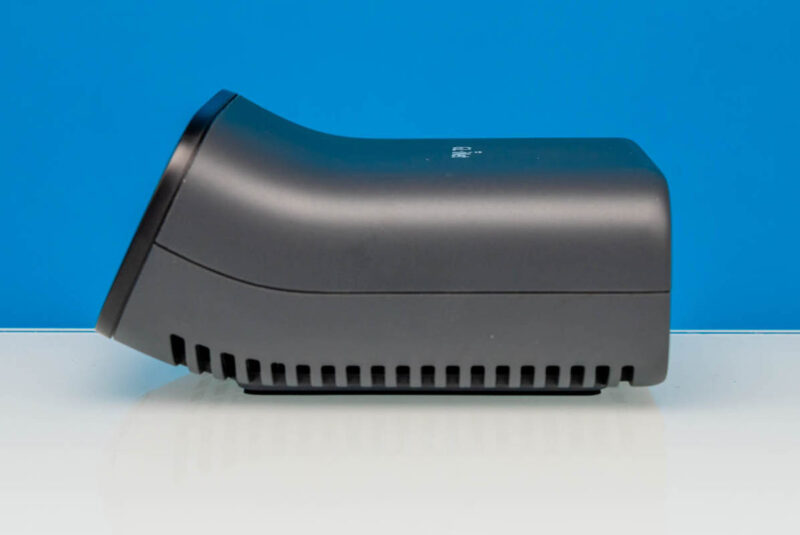 GL.iNet GL RM10 Comet Pro Remote KVM Side 1
The other side is the same.
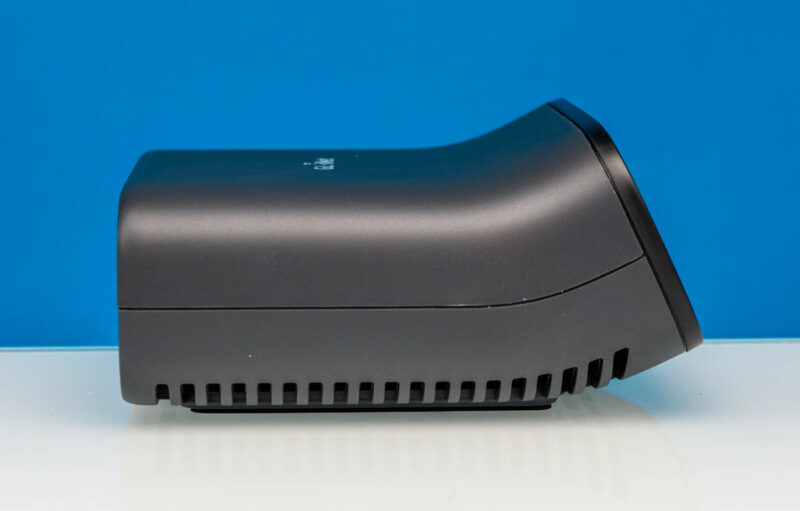 GL.iNet GL RM10 Comet Pro Remote KVM Side 2
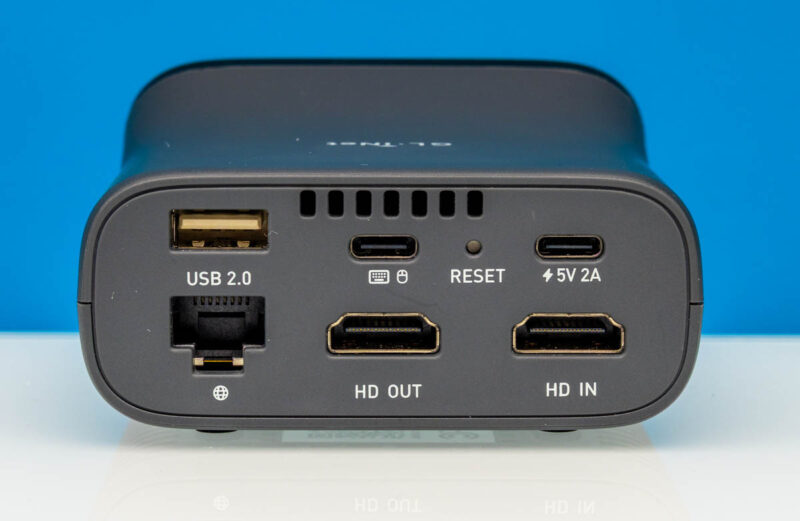
On the rear is where the real magic happens. We get a power input via a 5V Type-C port. There is a USB Type-C port for the keyboard and mouse output to a system under control. Then comes a big upgrade since there is an HDMI input and an HDMI output. That means you can pass through an HDMI output, allowing you to have a remote KVM session and, at the same time, have a local monitor connected. We have a toddler, and when I think about how we will introduce him to computing, I can imagine how this kind of functionality would have some administrative uses.
 GL.iNet GL RM10 Comet Pro Remote KVM Rear
There is also another USB 2.0 port for additional connectivity and a 1GbE port. The unit also has WiFi capabilities, which is a useful upgrade.
 GL.iNet GL RM10 Comet Pro Remote KVM Top
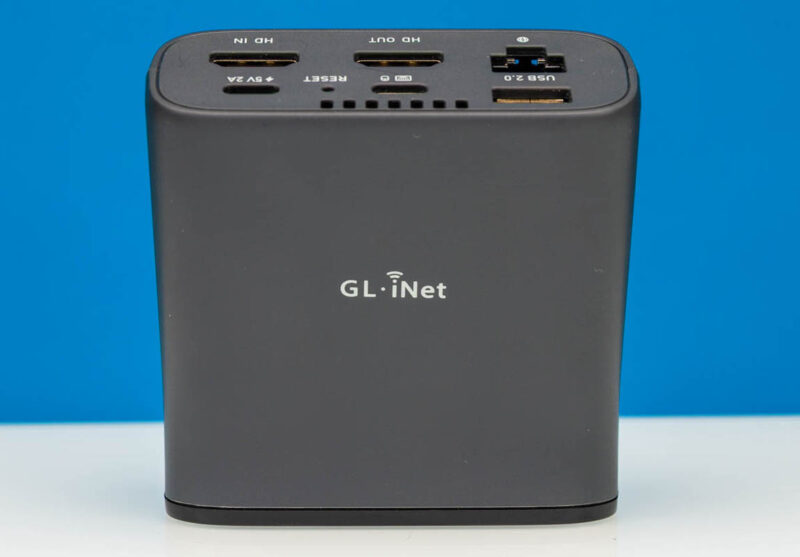
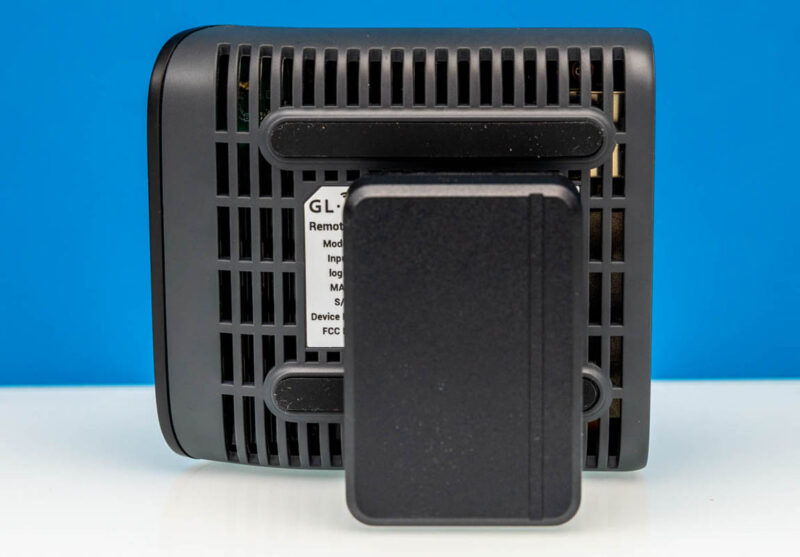
The top is solid. The bottom is vents. This one, with its rounded edges, was hard to prop up. There are vents and then login and ID information on a label.
 GL.iNet GL RM10 Comet Pro Remote KVM Bottom
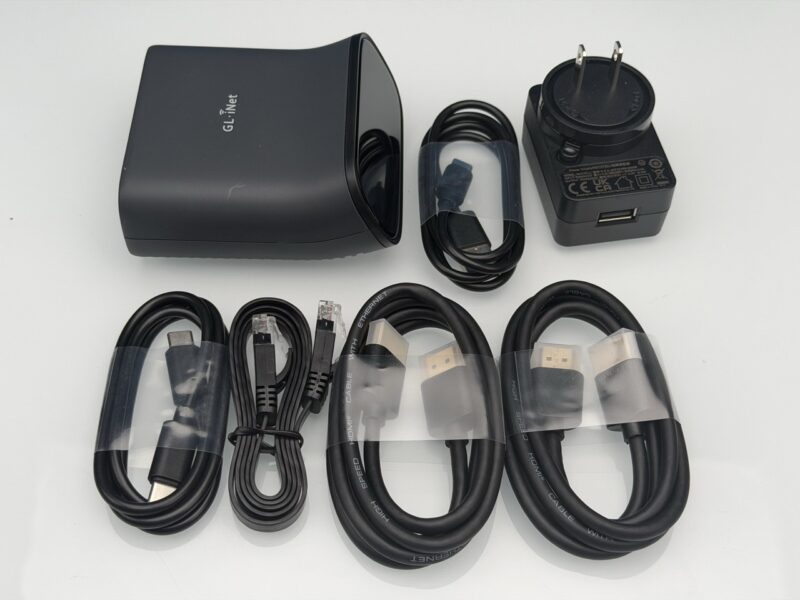
In the above photo, you can see the power adapter. The unit also came with two HDMI cables, a network cable, and both USB power and USB data cables. Notably, this does not have PoE input. Instead, GL.iNet’s solution is to use a PoE splitter for that functionality.
 GL.iNet Comet Pro RM 10 Accessories Large
Next, let us turn the device on and see how it works.